How should you tape your wrist?
Do you have pain when bending or extending the wrist or hand? Then you may have overloaded your wrist. Do you notice swelling around your wrist? Then you have a bruised wrist. In both cases, moving can be very painful and you are limited in your daily activities. That is why it is important to recover quickly so that you can get through the day without pain. There are several ways to promote the recovery of your hand and wrist. In this blog we will take a closer look at taping your hand and wrist, what the benefits of taping are and how you can tap in the right way.
What does taping help with?
Taping helps with overloading your wrist and hand. Taping also helps with a bruise. You often see professional athletes tape their wrists, they do this as protection against serious wrist injuries or bruises. So taping not only helps to heal a painful wrist, but also to prevent possible injuries and damage to the muscles in your wrist.
Benefits of taping your wrist?
Taping your wrist has many benefits, such as taping promotes the healing of your hand and wrist. Kinesio tape provides support and stabilizes your injured wrist joints and muscles. By applying the tape, the pressure on your wrist is reduced, so that you experience less pain throughout the day. It also improves your blood flow, which also eases the pain and speeds up the healing process.
If taping is used preventively, it helps to improve and strengthen muscle strength around your hand. It also ensures longer endurance and you can continue with the efforts for longer. Furthermore, the taping has no influence on your freedom of movement, which is why preventive taping is recommended.
Hand or wrist taping?
Do you suffer from your tendon and thumb joints? Or are you planning to put extra strain on your hands? Then it may be advisable to tape your thumb. This gives you more support during your activities and any damage to the joints will heal faster. The thumb is also taped in case of tendinitis, which limits the freedom of movement, but this gives the tendon enough rest to speed up healing.
Do you suffer from the general movement of your hand and does the pain radiate to several fingers? Then this pain comes from overloading the wrist joints. Then tape your wrist for more support.
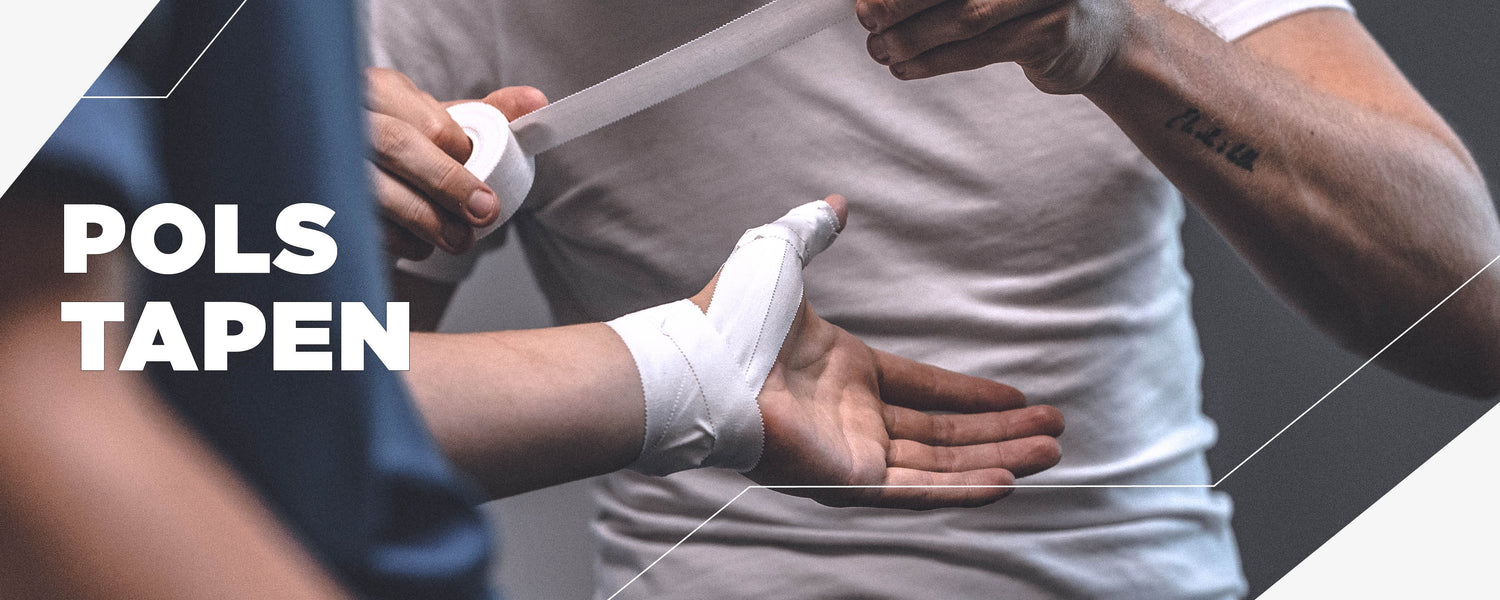
How should you tape your wrist?
Preparation:
To ensure that you can tape your wrist yourself, you need to make a little preparation.
- First, make sure your skin is completely clean and dry. You can choose to apply underwrap foam first. This foam protects the skin, so you don't have any irritation or an unpleasant feeling when removing the tape. In the example we include the application of the underwrap foam.
- Get some sharp scissors to cut your tape.
Roadmap:
- Hold your hand out in front with the side of the thumb up. Stretch out all your fingers and keep them apart.
- Now apply the underwrap foam crosswise, starting at the wrist. Wrap the foam tightly around the wrist 2 times. Continue with the foam towards your thumb, make a hole for your thumb and then wrap it around your hand through the thumb. Then go back towards your wrist and wrap the foam tightly around the wrist again and cut it off. The foam sticks by itself.
- Now start applying the sports tape. 3 strips of tape will be applied around your arm and wrist, which you can already cut to size. Make sure your strips are long enough to go around your arm and wrist once. Keeping your hand still in the same position, begin to wrap from your arm to your wrist. The first piece of tape then goes half on your skin and half on the foam, so that it remains well fixed. Tape it around your arm.
- Now you can stick the two remaining strips of tape up to your hand, around the wrist.
- For this step it is best to use the tape roll itself. Stick the end of the tape from your wrist to the back of your hand, diagonally between your thumb and index finger. Make the tape fit the space between your thumb and index finger by folding it in half. Then continue pasting towards your wrist. From your wrist, go behind your thumb around your wrist to make a V shape.
- Press everything well and now cut the tape loose. Then cut 3 pieces of tape long enough to stick from your palm to your wrist in a straight line.
- Now point your hand more towards your arm, then stick the first strip from the back of your hand to the end of the tape on your arm. Then stick the 2 strips as an X sign on the first strip. Move your hand and see if it doesn't feel uncomfortable.
- Now repeat steps 3 to 5 again.
CHECK OUT A HANDY ONE HERE INSTRUCTIONAL VIDEO (source: SportSmart)
Kinesiotape
In addition to the normal sports tape, there is also: kinesiotape. With kinesio tape you can effectively support your muscles and joints and prevent injuries. Also see how through proper warm ups saves your muscles from unnecessary damage. Do you want extra support for your muscles during sports or other efforts? View here which type of kinesio tape suits you best.